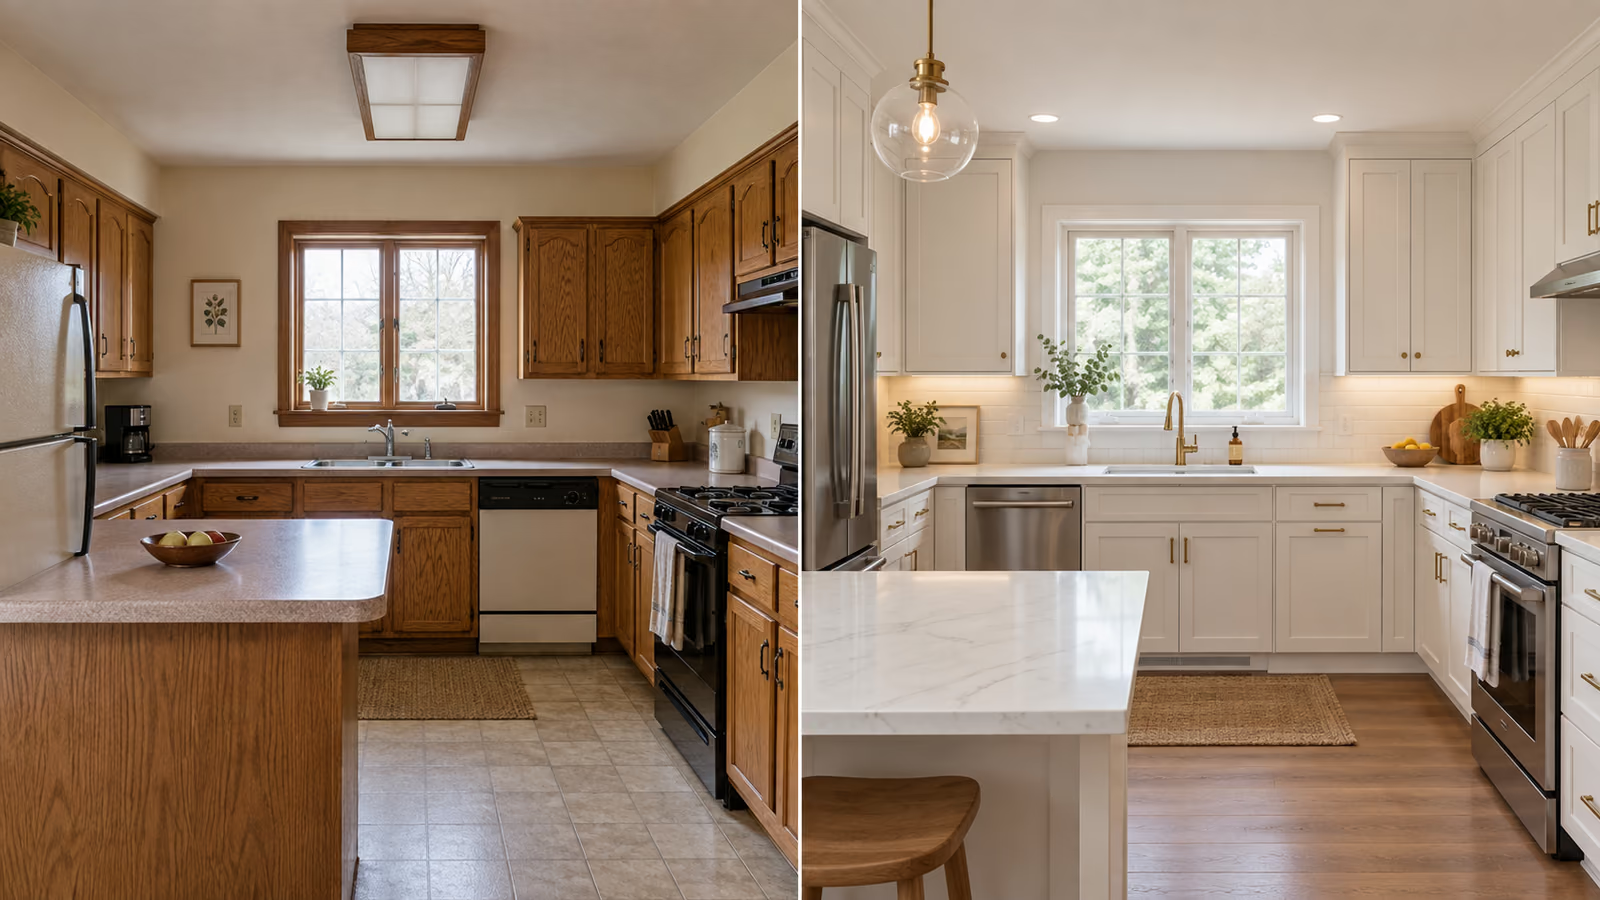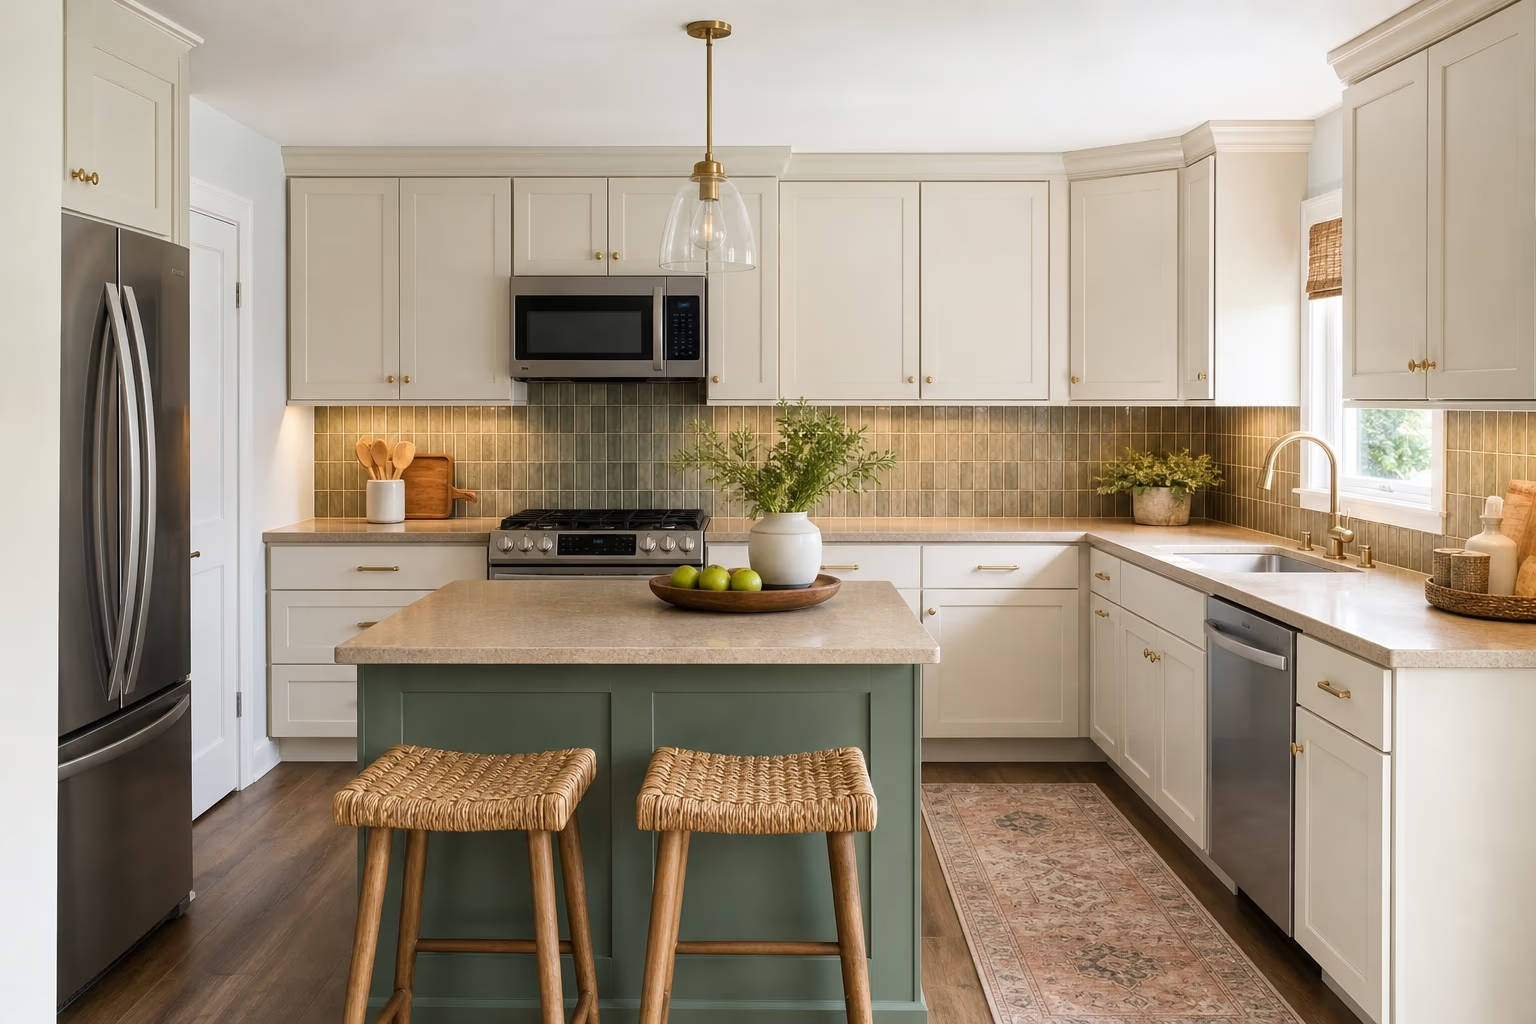
If the layout and cabinet boxes work, start with deep cleaning, hardware, light, wall color, faucet condition, and storage. Price those as one complete phase before touching countertops or floors.
Paint, hardware, lighting swaps, and organization
Professional cabinet finish, backsplash, faucet, and fixtures
Selected appliances or surfaces without moving utilities
Planning ranges and scenarios are starting points, not quotes or promises. Replace them with current documents and property-specific evidence before spending money.
Decide whether the layout already works
A refresh makes sense when cabinet boxes are sound, doors align, storage can be improved, and the appliance locations are functional. Water damage, failing wiring, unsafe ventilation, or structural problems need professional evaluation first.
List what is visually dated separately from what is actually broken. That distinction keeps a cosmetic plan from quietly becoming a full remodel.
- Check under sinks for leaks
- Test every outlet and light
- Inspect cabinet hinges and drawer slides
Build the update from clean to permanent
Begin with deep cleaning, caulk repair, grout care, and wall paint. Then evaluate lighting, hardware, window treatment, and open-counter clutter. These changes help you see whether a larger surface truly needs replacement.
If you paint cabinets, preparation determines the result. Degreasing, sanding or deglossing as required, bonding primer, cure time, and a durable coating matter more than rushing to a trendy color.
Improve the work zones
Put tools and ingredients near the task they support. Use drawer dividers, tray storage, a pull-out waste solution, or shelf risers before adding more cabinets.
Add task light beneath upper cabinets so it reaches the counter. Electrical, plumbing, gas, and ventilation work should comply with local requirements and be handled by qualified professionals where required.
Protect the budget from chain reactions
A new countertop may require sink, faucet, plumbing, backsplash, and wall repair. A new floor may affect appliance clearances and transitions. Price the entire chain—not the first item.
Keep a contingency even for a refresh, especially in older homes. Order one sample, test one finish, and confirm return terms before purchasing the full quantity.
Take this list with you.
Work from the evidence you already have, mark what is missing and verify the important assumptions before you commit.
- 01Confirm cabinet boxes are sound
- 02Separate broken items from dated ones
- 03Deep-clean and repair caulk
- 04Plan task lighting
- 05Price every linked trade
- 06Keep a contingency and samples
A few things worth knowing before you start.
Is painting kitchen cabinets worth it?
It can be when boxes and doors are sound and preparation is thorough. A poor finish can chip quickly, so compare DIY time, professional refinishing, and replacement honestly.
What kitchen update has the biggest visual effect?
Lighting and cabinet color occupy a large part of the view. Hardware, paint, and clearing counters can then sharpen the result for less.
Can I install a backsplash over existing tile?
Sometimes, but the surface, edges, outlets, moisture exposure, and product instructions matter. Evaluate the condition and use an appropriate method rather than covering a failing substrate.